
Mastering Supply and Demand in Trading: A Key to Market Structure
In the world of trading, understanding supply and demand is fundamental. These forces are the true drivers behind price movement, regardless of the asset or timeframe. While indicators and tools can help, the raw logic of supply and demand explains why price moves, making it an essential concept for any serious trader.
What Is Supply and Demand in Trading?
- Supply refers to the quantity of an asset available for sale at a given price.
- Demand refers to the quantity of an asset buyers are willing to purchase at a given price.
In simple terms:
- When demand exceeds supply, prices rise.
- When supply exceeds demand, prices fall.
This constant push and pull forms the foundation of price action in all markets — from stocks and forex to crypto and commodities.
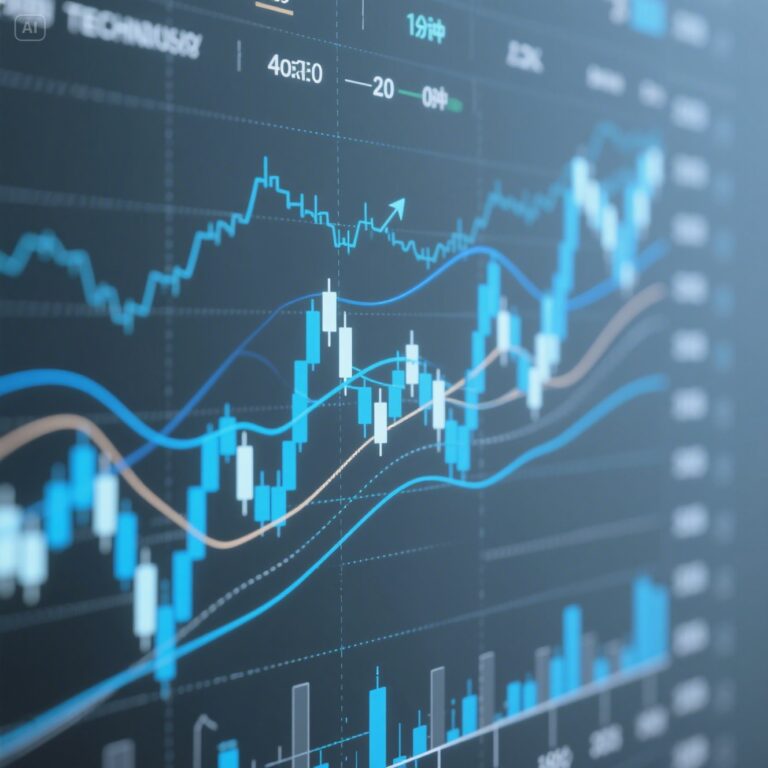
Supply and Demand Zones
In technical analysis, traders identify zones where supply or demand has significantly affected price. These areas are often used to anticipate future price reactions.
Demand Zone:
- A price area where buying pressure previously exceeded selling pressure.
- Characterized by a strong upward movement following a consolidation or drop.
- When price returns to this zone, buyers may re-enter, pushing price up again.
Supply Zone:
- A price area where selling pressure previously exceeded buying pressure.
- Characterized by a sharp move downward after price consolidation or rise.
- When price revisits this zone, sellers may step in, causing price to fall again.
How to Identify Supply and Demand Zones
- Look for strong impulsive moves: Identify where price rapidly moved away from a zone — indicating strong imbalance.
- Mark the base of the move: The consolidation or accumulation area before the strong move is your zone.
- Draw zones using candle bodies or wicks: Depending on how aggressive or conservative you are, draw from the start of the candle to its high/low.
Why Supply and Demand Zones Matter
- Predictive Power: These zones often act as future support or resistance levels.
- Low-Risk Entry: Entering trades near zones allows for tight stop-loss placements.
- Smart Money Insight: Institutions often leave footprints in these zones — showing where large orders were likely placed.
Trading Strategy Using Supply and Demand
- Identify the trend: Trade with the overall direction when possible.
- Mark fresh zones: Avoid zones that have already been tested multiple times.
- Wait for confirmation: Look for price action signals like rejection wicks, engulfing candles, or break of structure.
- Manage risk: Place stop-loss just beyond the zone. Set target levels using previous highs/lows or opposing zones.
Common Mistakes to Avoid
- Trading old zones: The more a zone is revisited, the weaker it becomes.
- Ignoring higher timeframes: Always align zones with broader market context.
- Overloading charts: Quality over quantity — focus on the most obvious and clean zones.
Final Thoughts
Supply and demand is more than just a concept — it’s a framework for understanding how and why markets move. By learning to identify and trade around supply and demand zones, you develop an edge grounded in logic, structure, and institutional behavior.
Always remember: price moves because of imbalance. If you can find the imbalance, you can find the opportunity.